


TL;DR version - Key Topics
Process Over Frustration – Rather than fighting the slowness of scanning, I embraced it as part of a weekend ritual, integrating writing and editing into the downtime.
Batch Workflow == Better Results – Scanning and editing in batches ensures more consistency across a roll, avoiding the inefficiencies of tweaking each frame individually.
The Right Tools Matter – Switching from SilverFast’s unreliable color workflow to Negative Lab Pro gave me control over color grading, while the Stream Deck introduced an industrial-style efficiency.
Automation Elevates the Experience – Reducing manual input (like using mapped buttons instead of a mouse) turned scanning from a chore into a streamlined, engaging task.
Efficiency Is a Creative Enabler – The less friction in the technical process, the more I can focus on the artistic aspects of photography, reinforcing the idea that structure and creativity can coexist.
Full Version (a.k.a. I’m not a Gen-Z)
Taiichi Ohno (Japanese industrial engineer and executive at Toyota) once said, “Without standards, there can be no improvement.” His philosophy of efficiency and standardized workflows revolutionized production, and in my own way, I’ve applied that same mindset to film scanning. What could have been an exhausting and frustrating process has instead become a streamlined, productive, and even enjoyable routine. By refining my approach—batch scanning, batch editing, and integrating tools like the Stream Deck—I’ve turned home scanning into something closer to a professional lab operation, with a rhythm that enhances both speed and consistency.
The Weekend Ritual: From Shoot to Scan
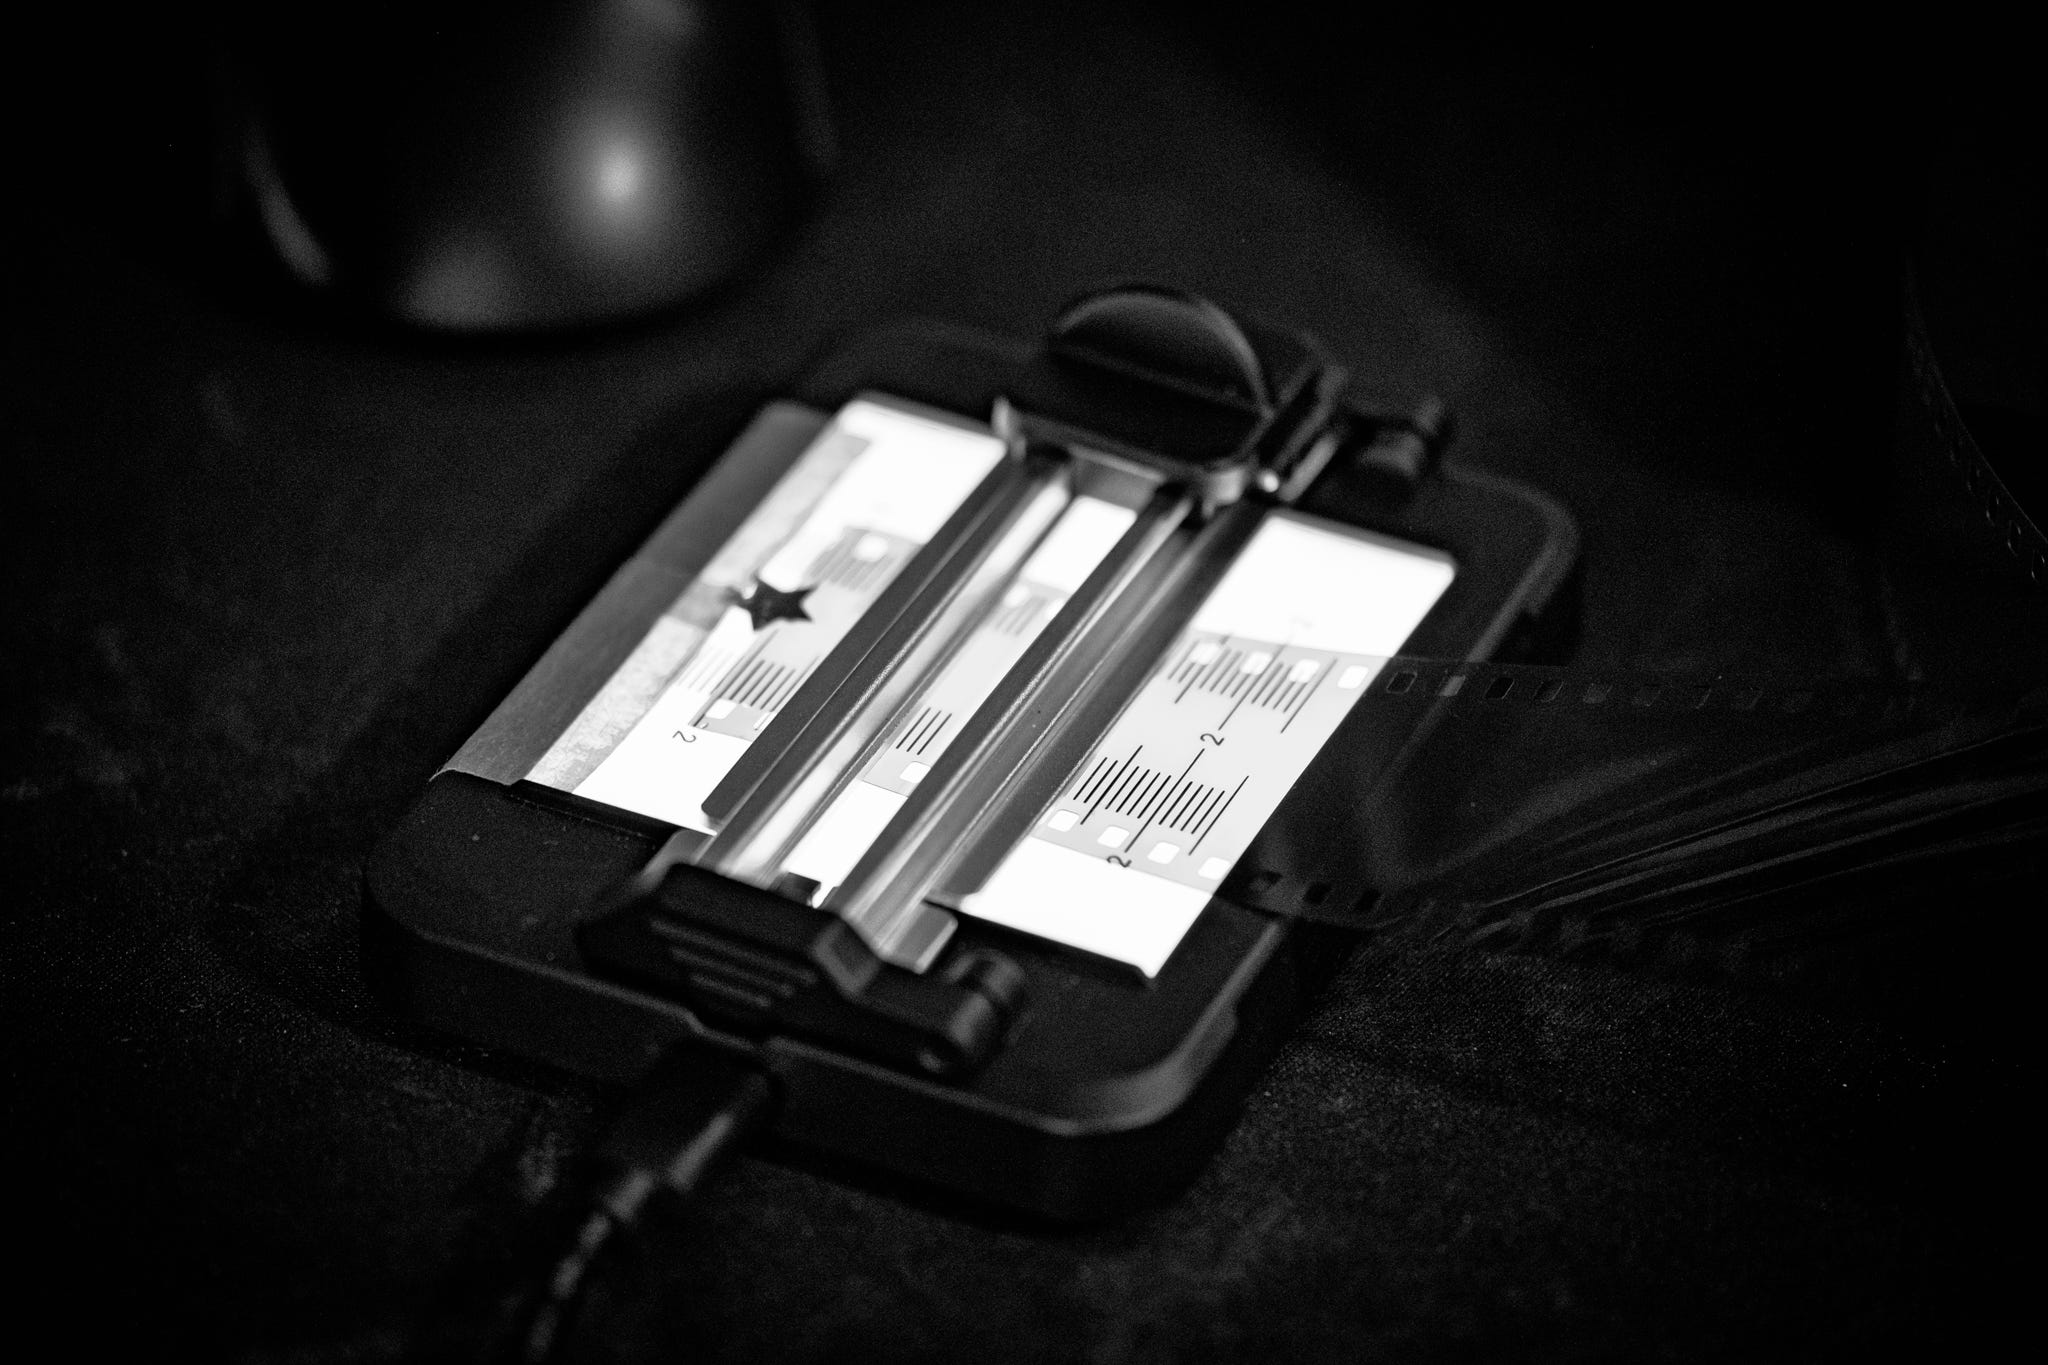
Scanning film is slow. My Plustek 8300i takes about two minutes per frame, which, at first glance, sounds painfully inefficient. But rather than letting this drag me down, I’ve embraced it as part of a weekly ritual. Saturdays are for shooting; Sunday mornings are for scanning. By the time I’m done developing and drying my negatives overnight, I’m ready to scan and reflect on my work.
Instead of watching the scanner inch along, I maximize this time by multitasking. While each frame processes, I write a new Substack post, or edit previous scans in NLP (Negative Lab Pro, more to come about this plug-in). This structure transforms what could have been dead time into something productive. It keeps my mind engaged and eliminates the frustration of waiting. Every second saved adds up, turning an otherwise tedious process into a well-oiled workflow.
Breaking Free from SilverFast’s Studio Limitations
Initially, I relied on SilverFast Studio 9 for both scanning and color grading. The software, despite its German-engineered interface (which I actually enjoy, I know, I know...), struggled with one key element—color accuracy. No matter what I tried (calibrating my monitor, tweaking settings, combing through forums), the JPG output never matched the preview. The unpredictability was maddening.
That’s when I switched gears. Now, I use SilverFast purely for scanning positives, or the DNG files, preserving my digital negatives for later processing in NLP. This shift gave me flexibility—I can adjust colors without rescanning, move files to my laptop, and edit anywhere, whether during a commute or while waiting at an airport. More importantly, it means I’m no longer second-guessing my scans. What I see in the preview is what I get in the final output.
The Power of Batch Processing

A major flaw of my old workflow was the inconsistency of editing each photo separately. When scanning and editing one frame at a time in SilverFast, I often forgot my previous settings. I’d have to reopen older JPGs to compare, and since SilverFast’s preview was unreliable, the whole process felt inefficient and frustrating.
Now, batch scanning and then batch editing have changed everything. Since adjacent frames on a roll share the same lighting conditions and exposure, editing them together creates more consistent results. Instead of tweaking every photo in isolation, I can adjust an entire sequence, ensuring cohesion across a roll. This not only speeds up editing but also makes the final output feel more unified—something that simply wasn’t possible with my old, frame-by-frame approach.
Bringing Industrial Efficiency to Home scanning
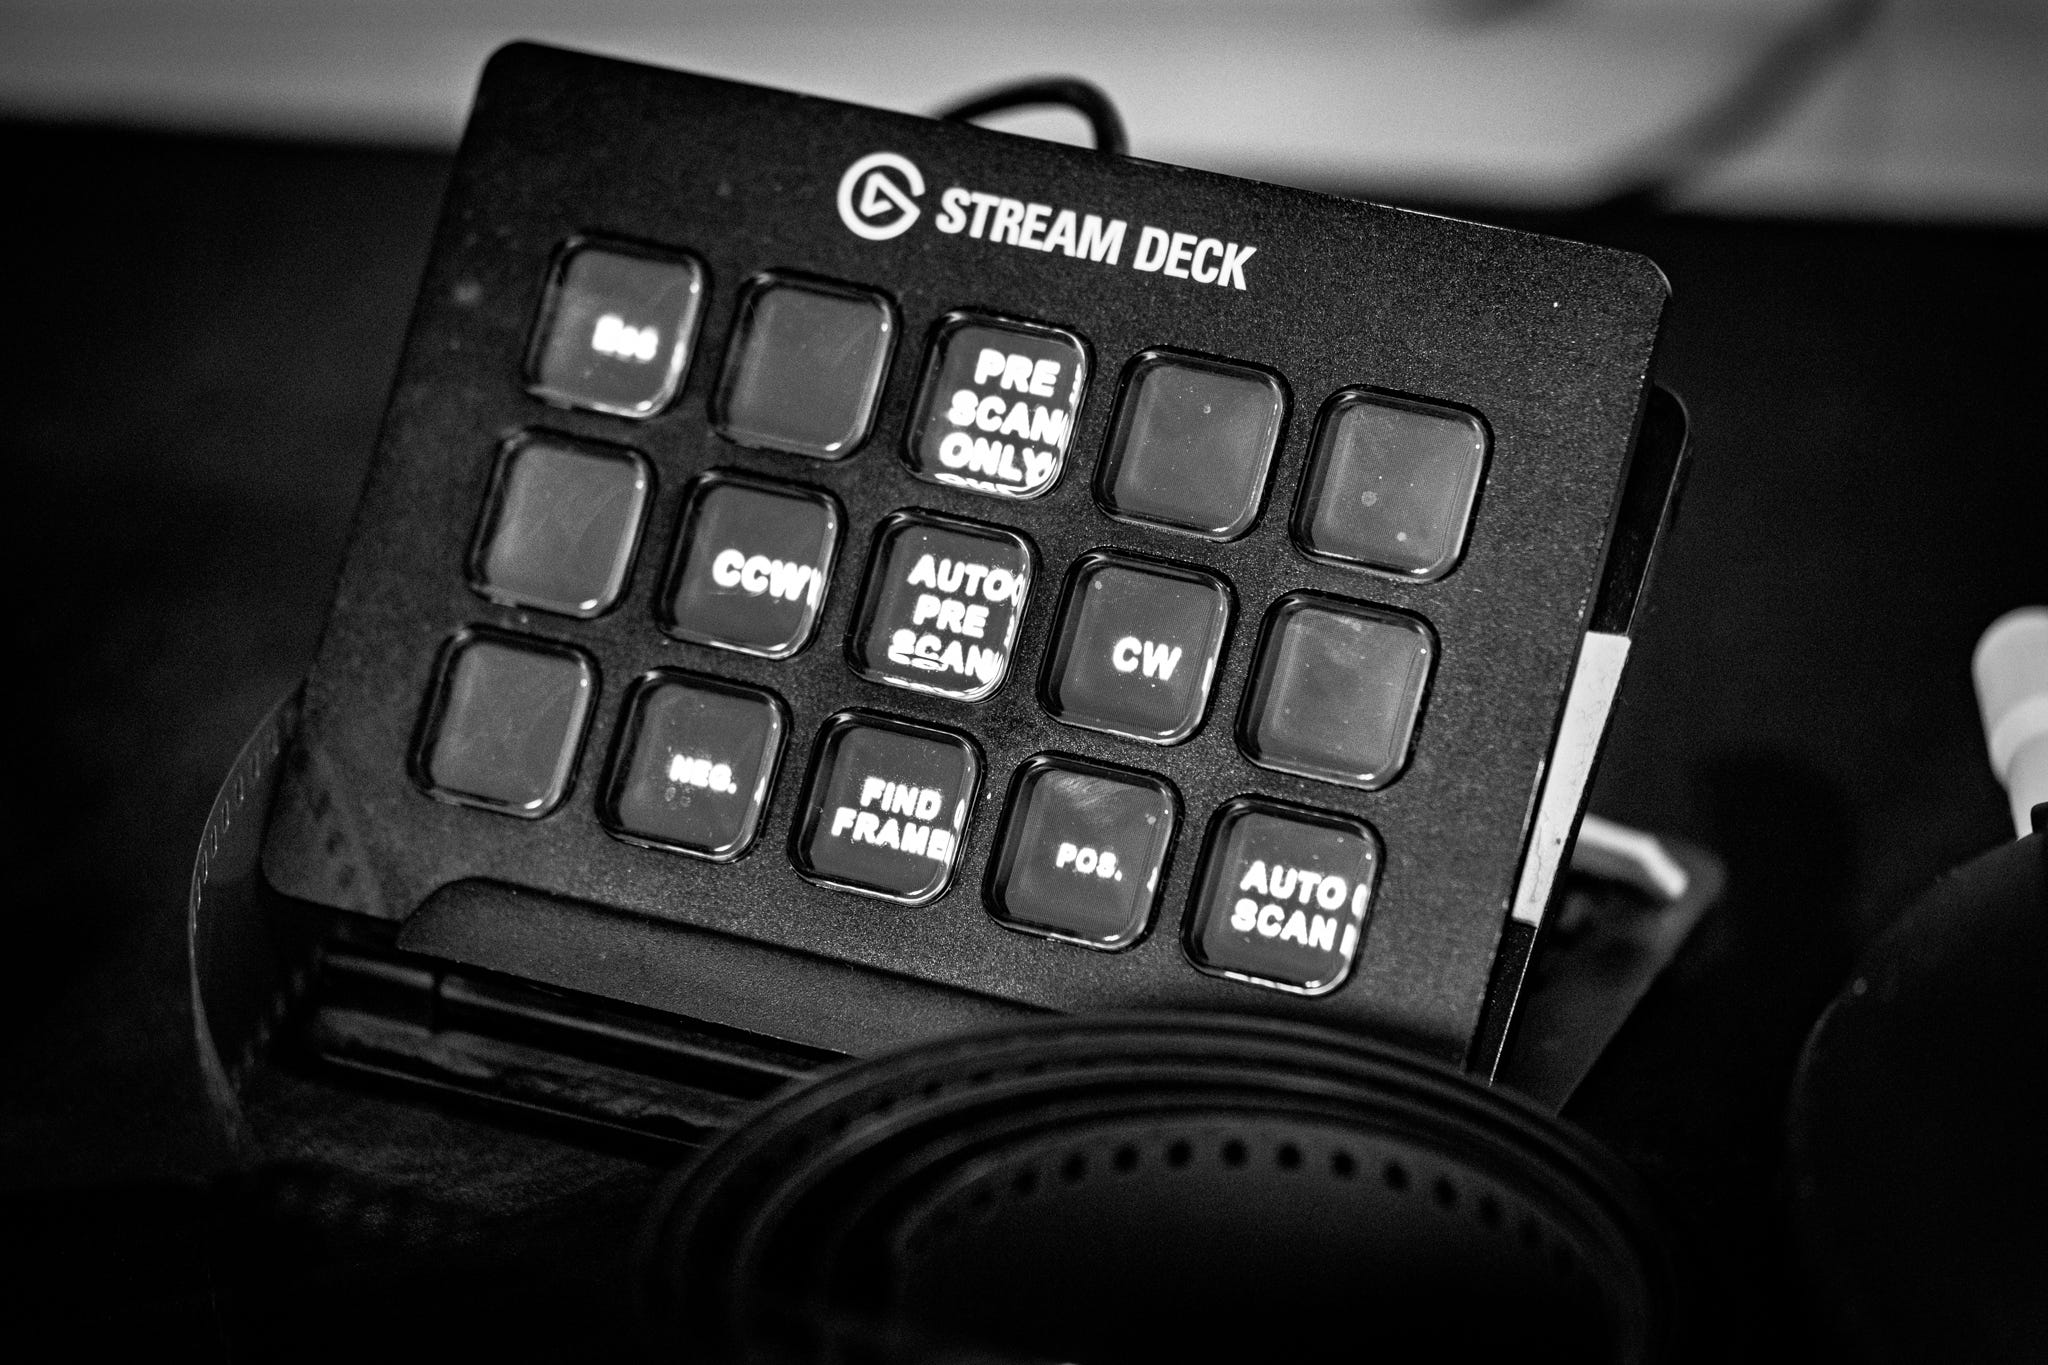
One of the automotive industry’s innovations in the past was the use of repetitive, standardized tasks to improve productivity. Inspired by that, I introduced a Stream Deck into my scanning workflow, mapping SilverFast’s keyboard shortcuts to physical buttons. Now, instead of constantly reaching for my keyboard and mouse, I work like an operator at a well-designed machine who is purpose-built. My process is simple:
Manually advance the film holder;
Press the pre-scan button;
Make necessary rotation adjustments;
Use the 'Find Frame' button (which auto-aligns and trims edges);
Press the 'Auto Scan' button, which opens a dialogue, waits 200ms, and press enter;
Here’s a little video I put together showing you these steps, so you see it working:
By positioning the Stream Deck close to my scanner, I’ve cut down on unnecessary movements, making the process smoother, faster, and—surprisingly—more enjoyable. This level of efficiency isn’t just about saving time; it’s about making the experience feel like a refined craft rather than a chore.
Room for Improvement
Even with all these optimizations, I still dream of an auto-feeder. Reducing manual interactions even further would free up more time, allowing me to focus on writing, editing, or simply enjoying the process even more. But for now, I’ve found a balance that works: a blend of speed, quality, and enjoyment that makes scanning an integral, rewarding part of my film journey.
Conclusion
By adopting a structured, factory-like approach, scanning became part of the creative act itself. It enforces discipline, enhances consistency, and ensures that every frame gets the attention it deserves. Henry Ford revolutionized manufacturing by making efficiency an art form. In my own small way, I’m kinda doing the same thing with my film scans.
How about you? Do you like or hate scanning? Do you prefer doing yourself, or having a Lab doing it for you? Do you scan with a scanner or a with camera? Let me know! I am curious to see how you do it, and what productivity things and hacks you did to get it done better/faster.
Thanks for reading! ✌🏻


Share this post